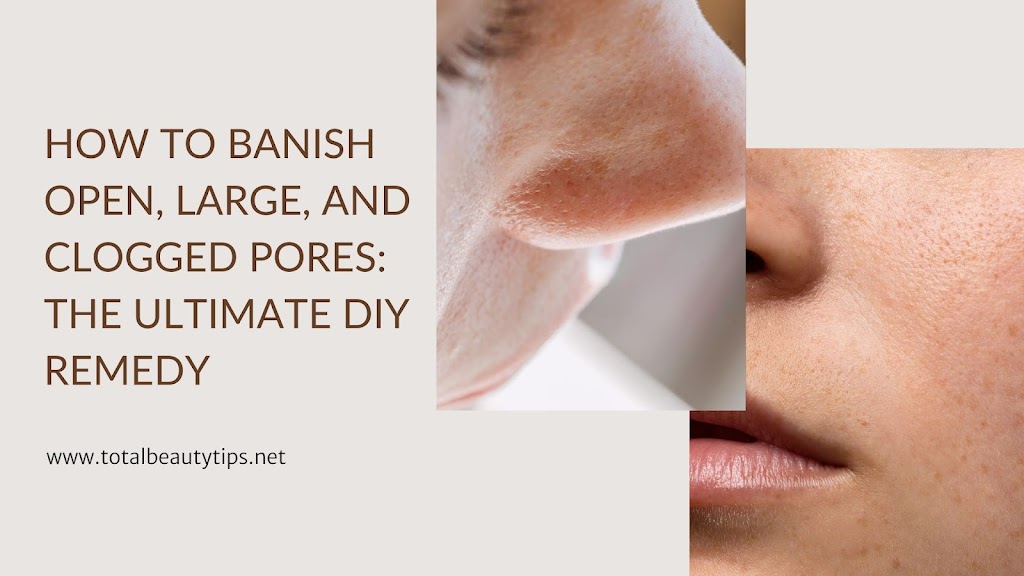
Have the pores on your face started becoming visible? See, there is neither any disease nor any defect but if you do not clean your pores then you allow blackheads to appear again and again and they have started becoming clogged trust me your skin may develop unhealthy defects.
Read More: DIY Face Pack to Remove Hyperpigmentation and Dark Spots
So what should be done for this?
You should keep them clean, take care of them and as you age, you should minimize them as you age. How to minimize pores? You can do this work very easily in the comfort of your home, if you read, understand and execute this entire blog then you are going to have amazing research.
What needs to be done, how to do and how much to do?
In today ‘s blog I will be sharing a very easy 4 steps process. All these steps are very simple and you are going to enjoy them for sure. It will leave your skin soft, supple, and healthy. You’ll be amazed when you take on this challenge. This is a five day challenge and you will see visible differences in the quality and texture in your skin for sure. I guarantee you that provided you follow it this same way as I am sharing it with you and without any sort of testing.
It is a challenge but if you don’t believe in natural remedies then they will not show you their magic as simple as that you have to put your faith in.
Step 1: The remedy is to clean your face
If you use makeup, it’s crucial to follow up with a face wash and micellar water. Micellar water contains altered particles that dissolve makeup effectively, offering an incredible cleansing method. Otherwise you can follow a two step process that is first oiling and then face wash. That way also most of the dirt is cleaned up.
For the preparation of this mask you need egg white. After taking egg white, add sandalwood powder equal to one teaspoon in it and mash it well. With this, the smell in the egg will be minimized to a great extent by the sandalwood powder and you will be able to apply it on your face without any problem.
If you do not want to use egg white then you can also use banana. In this you will have to take some banana which is neither too firm nor too raw. In this also you will have to take one teaspoon of sandalwood powder. If it is not becoming like a paste then you can add milk little by little.
Use any Sandalwood powder that you are comfortable with, mix it well and your face pack is ready. The effect of application of both of these on your face is almost the same.
Step 2: How to Apply this mask?
Sandalwood is being used here. You all know that sandalwood gives a cooling sensation to your skin and makes your skin feel so refreshed and healthy. Apply this mask on your face and let it be, This is egg white, it dries out easily. If you are applying banana then it will also try out easily. Aa soon as it dries out three-fourth, do another coat of application and repeat this 3-4 times.
You will feel that it has become stiff on your face, you will feel the tightness on your skin. You will feel the same with egg as well as banana. I would suggest you to lie down, because when the mask gets stiff, it will stiffen your face in the same direction as your face and You will see an amazing Grace on your face.
If you could lie down then very good, otherwise it peacefully, do not speak much after the application. because it might give cracks in your mask as it very stiff, keep it as it is. It will start itching a lot as soon as it dries up because it’s very tight. It will dry completely in approximately 10 to 15 minutes. Then lightly wet your entire mask and then massage again with your hands. After that, wash your face thoroughly with water.
When you wash off the pack, your skin will feel very soft and supple, you will see the collagen. you will notice that your skin has become very soft and supple. You will visibly see that the pores have minimised immediately after the face wash. but this is not a sorcery that you will get permanent results with just one use, they will open up again after sometime, that is why this is a 5 days challenge. You will get the results in one day but to sustain that you will have to make your skin remember again and again that how it should be. After you wash it off completely, your skin will become soft, supple and shiny. Dry skin people feel their skin extremely dry so don’t worry I am going towards further steps.
Step 3: You will be toning your face properly
If you have oily skin then use rose water only. If you have combination skin, your regular skin toner suffices. For dry skin, toner and rosewater are essential, and you can even craft your own DIY toner. After you apply the toner your minimised pores will get locked and will not open up easily.
Step 4: This is optional, if you have oily skin, I would suggest do not apply anything
If you have combination or dry skin then it is must for you to moisturize your skin properly. Take a bit of it and pat the moisturizer on your face, you would see that your pores won’t be visible throughout the day. If you’re not doing anything extreme like field work, going out in the sun, then your pores are absolutely locked for the day.
Your skin after that shows you visible results, it becomes happy. You don’t see any sort of flakiness, dryness, dullness, or open pores. Ultimately you will not have pimples, blackheads and your skin will be so healthy that you could go out without makeup and you can still feel so much confident.
Get amazing results for your hair and skin using remedies made with simple ingredients in your kitchen. Remove the confusion induced by the multitude of brands in the market.
So please do these simple things for yourselves and enjoy it to the fullest. You will get more beautiful results for yourselves after following all these things.