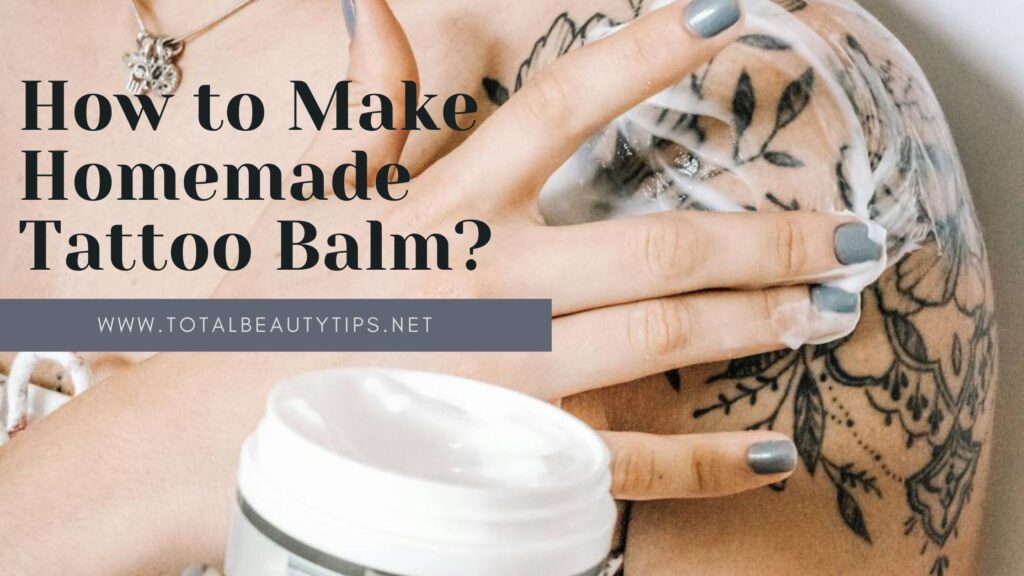
Taking care of new and old tattoos is essential to maintain their vibrancy and longevity. My easy DIY Tattoo Balm uses natural ingredients, including essential oils, to help keep your ink looking fresh. If you’ve just gotten your first tattoo, proper aftercare from day one is crucial. While your tattoo artist will provide instructions, having your own tattoo aftercare products can be beneficial.
My tattoo balm recipe is simple to make and uses only natural ingredients, ensuring your skin gets the best care possible. Balms are particularly effective because they stay on the skin longer than lotions or oils, thanks to the beeswax base. This allows the beneficial oils to be absorbed more slowly and effectively, reducing the need for frequent reapplication. Whether you’re caring for fresh ink or keeping older tattoos vibrant, this natural balm is a great addition to your skincare routine.
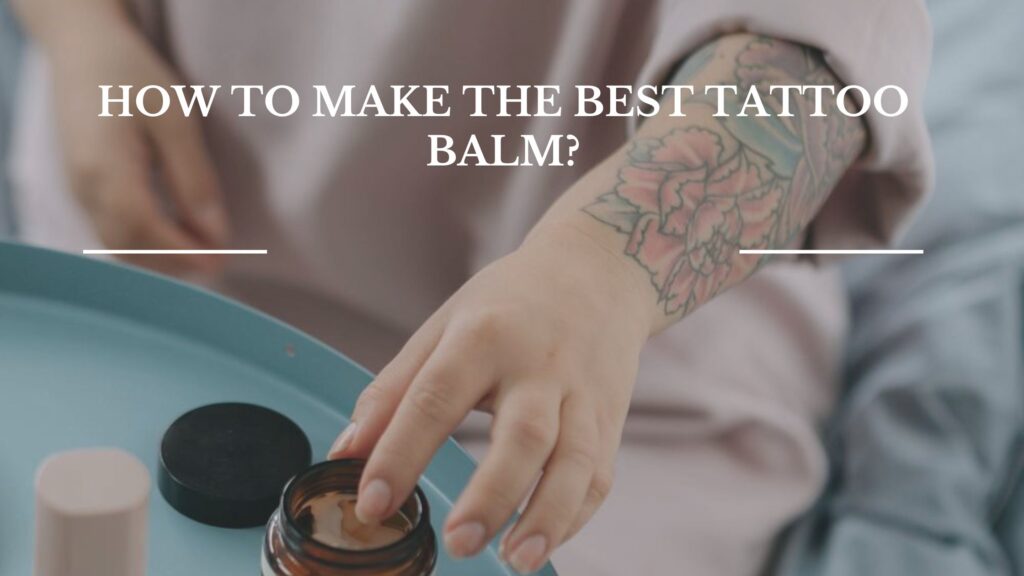
How to Make the Best Tattoo Balm?
To make this tattoo balm, I filled one large tin and three smaller ones, ensuring I always have it handy. Keeping the smaller tins in my bag and at my desk helps me relieve itching and avoid scratching my healing tattoo. This recipe is simple and convenient, allowing you to take care of your tattoos wherever you are.
Nourishing Herbal Balm
Indulge in the art of crafting your own nourishing herbal balm with this straightforward recipe. Infused with the goodness of calendula, chamomile, and essential oils like lavender and helichrysum, this balm offers a luxurious touch to your skincare routine. Follow these steps for a homemade remedy that soothes and heals, perfectly tailored to your needs.
Ingredients
Makes 140g. See the recipe card for exact measurements.
1Sunflower oil (infused with calendula), Grapeseed oil (infused with chamomile), Shea butter, Beeswax, Rosehip seed oil, olive oil, Lavender essential oil, Helichrysum essential oil
Make it
1. Infuse Your Oils – Infuse all your oils ahead of time using either the cold or heat infusion method.
2. Prepare Your Ingredients – Weigh your ingredients on a kitchen scale.
3. Melt Ingredients – Using a double boiler, heat the sunflower oil, grapeseed oil, olive oil, shea butter, and beeswax together over medium heat.
4. Cool and Add Essential Oils – Once melted, remove from heat and let it cool for a moment before adding in the rosehip seed oil and essential oils. Adding them while the mixture is too hot can break down the oils and the healing herbal properties.
5. Pour Into Containers – Pour your balm into tins or screw-top glass jars. Make a variety of sizes so you can have some to bring on the go.
DIY Tattoo Ointment
Indulge in the craft of creating your own tattoo ointment with this simple do-it-yourself recipe. With just a handful of natural ingredients, including beeswax, coconut oil, and mango butter, you can craft a nourishing ointment to aid in the healing process of your new ink. Follow these easy steps for a personalized touch to your tattoo aftercare routine.
You’ll need the following:
Ingredients
2 tablespoons of beeswax- 1.5 tablespoons of coconut oil- 1 tablespoon of mango butter (cocoa butter or shea will work just fine)- 1 teaspoon of sesame oil
Make It
1. If your “butter” is hard, heat it on a low-flame stove top before adding your ingredients together.
2. Double up the portions if covering a large tattoo, but remember, a little bit goes a long way.
3. Clean your tattoo with a mild castor oil soap before applying your new ointment.
4. Sit back and watch it heal into a glorious new work of body art.
Calendula Tattoo Balm
Soothing and nurturing your tattoo during the healing process is crucial for its long-term vibrancy. This homemade Calendula Tattoo Balm offers a simple yet effective solution, harnessing the natural properties of calendula-infused oil, shea butter, and beeswax. Whether you’re a seasoned tattoo enthusiast or embarking on your first ink journey, this balm provides the care your skin needs after the initial healing stage.
Ingredients:
1 ounce organic beeswax (or 3/4 ounce candelilla wax for a plant-based alternative)- 1 ounce raw shea butter- 1 ounce calendula oil (store-bought or homemade)
Make It
1. Melt the beeswax and shea butter together in a double boiler or microwave, using short bursts of heat to ensure a smooth consistency.
2. Once melted, allow the mixture to sit briefly before incorporating the calendula oil, stirring gently to combine.
3. Carefully pour the melted balm into clean containers, such as tubes or jars, and let it cool and solidify completely before use.
With just a few simple steps, you can create a nurturing balm that helps keep your tattooed skin moisturized and conditioned, promoting a healthy healing process and vibrant, long-lasting ink.
Frequently Asked Questions About Tattoo Balm
Why should I choose tattoo balm over lotion for my new tattoo?
A1: Tattoo balms offer superior moisture retention compared to lotions, reducing the risk of flaky, irritated, and itchy skin. They contain healing properties from natural ingredients like calendula, chamomile, St. John’s Wort, lavender, and helichrysum, which accelerate the healing process. Additionally, tattoo balms are made from entirely natural products, avoiding irritation and promoting optimal healing without petroleum-based ingredients.
What happens when my tattoo starts to peel?
A2: Peeling is a natural part of the tattoo healing process. After a few days, your tattoo will develop scabs as the outer layer of skin heals. It’s crucial not to pick at the scabs, as this can remove parts of the tattoo. Allow the scabs and flaking skin to fall off naturally. If the peeling skin becomes itchy or annoying, applying tattoo balm can provide relief and prevent inadvertent scratching or picking.