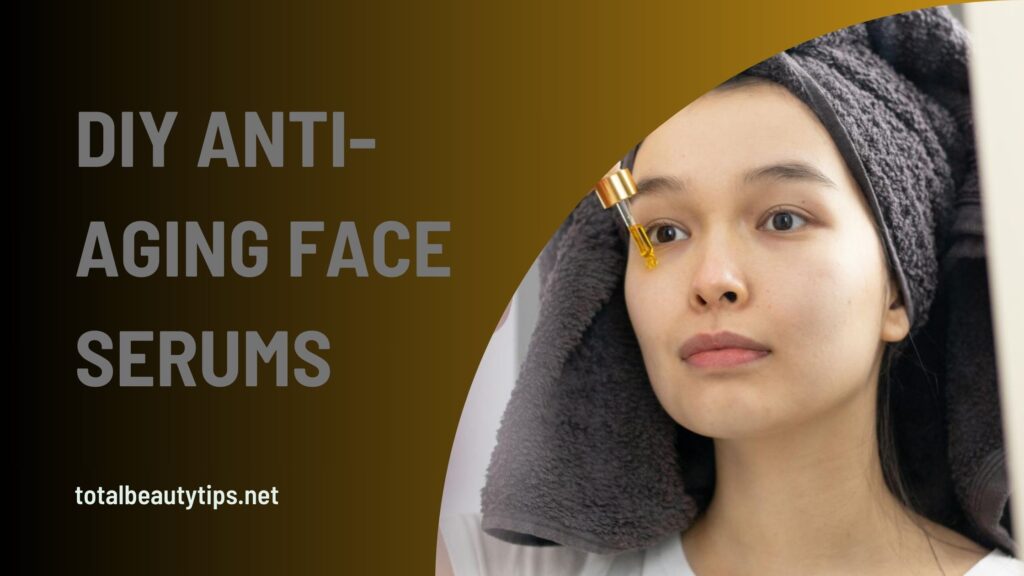
Anti-aging face serums can often be pricey and packed with harsh chemicals. Instead, why not try making your own? This DIY anti-aging face serums recipe is simple, cost-effective, and full of beneficial nutrients and antioxidants. It will help your skin look vibrant and youthful while providing essential hydration. Just apply it to the areas where you want to see the most improvement—typically the face, neck, and upper chest, which are often the most exposed to the sun and prone to damage.
When Should You Start Using Anti-Aging Cream?
Have you celebrated your 30th birthday recently? If your skin is beginning to show signs of aging like fine lines, age spots, wrinkles (especially around the eyes), sagging, or smile lines, it might be time to consider an extra dose of care and nourishment.
How Does It Work?
Wondering how an anti-aging serum can benefit your skin? Here’s a breakdown of the key ingredients and their benefits:
Sweet Almond Oil: This powerhouse ingredient is rich in vitamins, omega fatty acids, zinc, retinoids, and linoleic acid. Vitamin A (Retinol) in sweet almond oil boosts collagen production and reduces the visibility of fine lines. Omega-3 fatty acids delay premature aging and combat free radicals.
Rosehip Facial Oil: Packed with vitamins A, C, and E, rosehip oil enhances collagen production, exfoliates the skin, and reduces fine lines. It also offers protection against harmful UV rays, prevents hyperpigmentation, evens skin tone, and imparts a radiant glow.
Vitamin E Oil: Known for its high antioxidant and anti-inflammatory properties, vitamin E oil helps fight free radicals and prevents premature aging of the skin.
Lavender Oil: Rich in various natural components and non-comedogenic (meaning it doesn’t clog pores), lavender oil is a valuable addition to any skincare routine. Studies suggest it can significantly increase collagen production, detoxify the skin, and protect it from sun damage.
By incorporating these natural ingredients into your skincare routine, you can help your skin look youthful and vibrant while providing essential hydration and nourishment. Ready to start? Your journey to radiant skin begins now!
How to Make Your Own Anti-Aging Serums?
Curious about how to make your own anti-aging serum at home? It’s easier than you might think! By following a few simple steps, you can create a serum tailored to your skin’s needs. The exact ingredients might vary based on your skin type, but the basic recipe remains the same. This DIY serum will help reduce signs of aging and promote healthy, glowing skin.
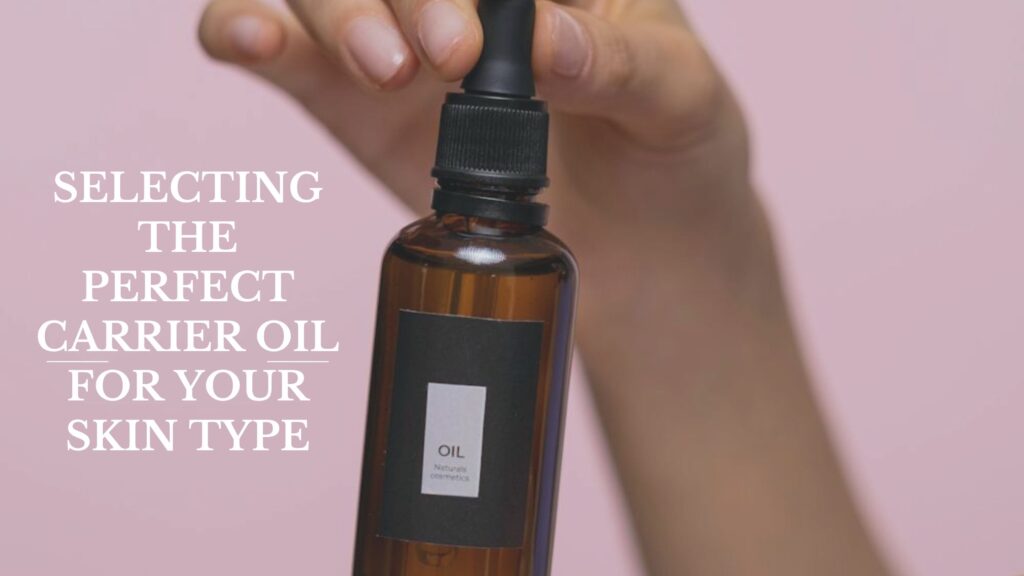
Selecting the Perfect Carrier Oil for Your Skin Type

When creating a natural facial serum, selecting the right carrier oil is crucial. You can choose based on your skin type or personal preference.Carrier oils come in two main types: specialty seed oils (like pomegranate seed and tamanu oil) and true carrier oils (like jojoba and grapeseed oil). True carrier oils are less concentrated than specialty seed oils and serve as a “carrier” to deliver other ingredients to your skin.Most carrier oils are neutral in scent and color. They are excellent for diluting oils, which can otherwise irritate the skin, especially for those with sensitivities. When selecting carrier oils, opt for organic and cold-pressed varieties. Ensure they are free of additives and preservatives to get the best results for your skin.
3 Anti-aging Serums Recipes
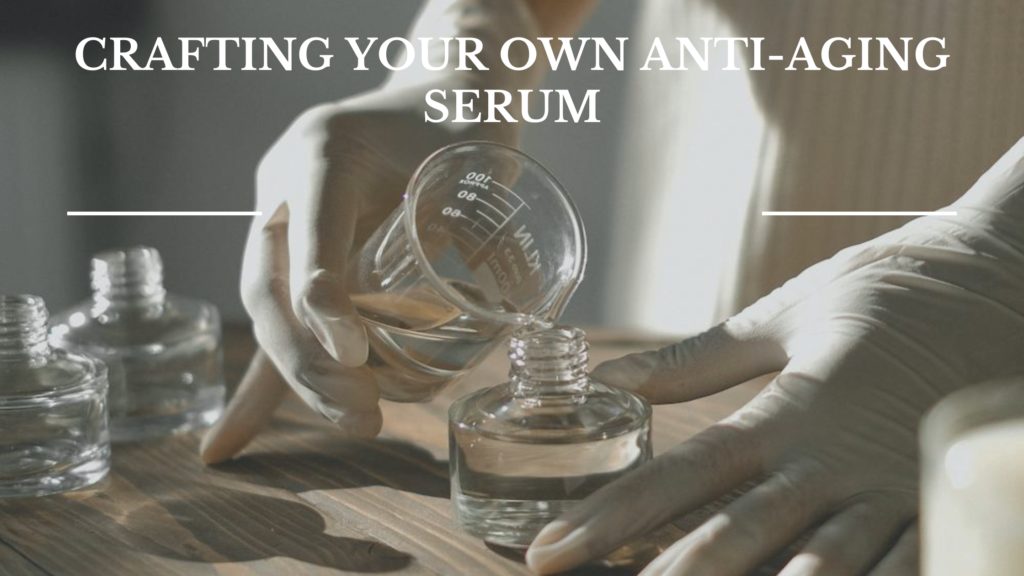
Crafting Your Own Anti-Aging Serums

Unlock the secret to youthful skin with these key anti-aging ingredients. From jojoba oil to pomegranate oil, each ingredient offers unique benefits to keep your skin looking vibrant and radiant.
What Do You Need?
Gather the following ingredients to create your own anti-aging serum:
Jojoba oil: A premier carrier oil known for its moisturizing properties.
Evening primrose oil: Ideal for treating skin conditions like eczema and psoriasis.
Pomegranate oil: Packed with natural antimicrobials to combat acne.
Vitamin E oil: An antioxidant-rich oil that improves dry, flaky skin and heals acne scars.
Lavender oil or frankincense oil: Enhances skin tone, elasticity, and defense mechanisms.
Carrot seed oil: Moisturizes skin while acting as an antifungal agent.
Dark glass bottle: To store your serum and preserve its potency.
Tips
Here are some tips for making and using your anti-aging serum:
1. Mix all ingredients into the dark glass bottle using a small funnel to avoid spills.
2. Apply the serum every morning and night to your face, neck, and chest, or any areas where you want to address aging skin.
3. For added protection, apply sunscreen over the serum when going out during high UV times of the year.
DIY serums for wrinkles and fine lines
This homemade anti-wrinkle serum works like an elixir. Since it’s all-natural, you’ll experience slow but sustainable results without the risks associated with chemical-based products.
What Do You Need?
– Sweet almond oil: 2 tablespoons
– Rosehip oil: 1 teaspoon
– Vitamin E oil: 2 drops
– Lavender essential oil: 2 drops
Mix all the ingredients together. Apply the mixture to a cleansed face at bedtime.
Tips
If you have oily or acne-prone skin, add 2 tablespoons of pure aloe vera gel and 1 tablespoon of pure rose water to the mixture.- Follow this anti-aging skincare regimen consistently for 30 days to see visible results.
DIY Anti-aging Face Serum
Say goodbye to expensive anti-aging filled with chemicals. This DIY anti-aging face serum is a natural alternative that promises youthful, glowing skin without any harmful ingredients. Packed with nourishing oils and essential oils, this serum will hydrate and rejuvenate your skin, giving you a radiant complexion.
What Do You Need?
To create your own anti-aging face serum, gather these ingredients:
2 tbsp jojoba oil
1 tbsp rose hip seed oil
1/4 tsp vitamin E
2 drops Frankincense essential oil
2 drops Myrrh oil
3 drops Lavender essential oil
2 drops Patchouli oil
One dark 2 ounce glass dropper bottle
Tips
Here are some tips to ensure the effectiveness of your DIY serum:
1. Place jojoba oil, rose hip seed oil, and vitamin E into the glass dropper bottle.
2. Add the essential oils, close the bottle tightly, and gently roll to mix.
3. Use 1/4 to 1/2 dropper full of serum nightly on a clean face and neck to preserve, smooth, and protect your skin.
Conclusion
Making your own facial serum at home, especially a DIY facial oil serum, provides various benefits for nourishing and moisturizing your skin.The guide above helps you identify the best oils for your skin type and advises on oils to avoid. Once you’ve crafted your first oil-based serum, creating more in the future becomes a breeze, and you’ll gain a better understanding of which serum ingredients suit your skin best. Even if you prefer buying ready-made serums, knowing what works for you ensures you choose a product that enhances your skin without causing any issues.


